If you, like me, love leafy greens and quiche-like bakes of all sorts, then Swiss Chard and Spinach Crostata with Fennel Seed Crust should be right up your valley, and you should make it as soon as possible. So good!
I spotted the recipe in Cara Mangini’s wonderful new cookbook, The Vegetable Butcher, that she introduced during the book luncheon event at Melissa’s Produce a few months ago.
In this crostata, the lush, rich filling made with slightly wilted Swiss chard and spinach, mixed with Parmesan and ricotta, and jazzed up with dried herbs and nutmeg, sits on a flaky crust perfumed with aromatic fennel seeds. Just like in a quiche, the filling is thick, dense, yet tender.
Spinach is my addition to the filling and the original recipe suggests using Swiss chard only. I was short on chard and had some spinach in the fridge waiting to be used. I thought to combine the two, and, voila! – a new take on the original crostata was born.

Fennel seed adds a very pleasant flavor to the crust and is not overpowering or strong at all. 2 teaspoons called for in the recipe is the perfect amount.

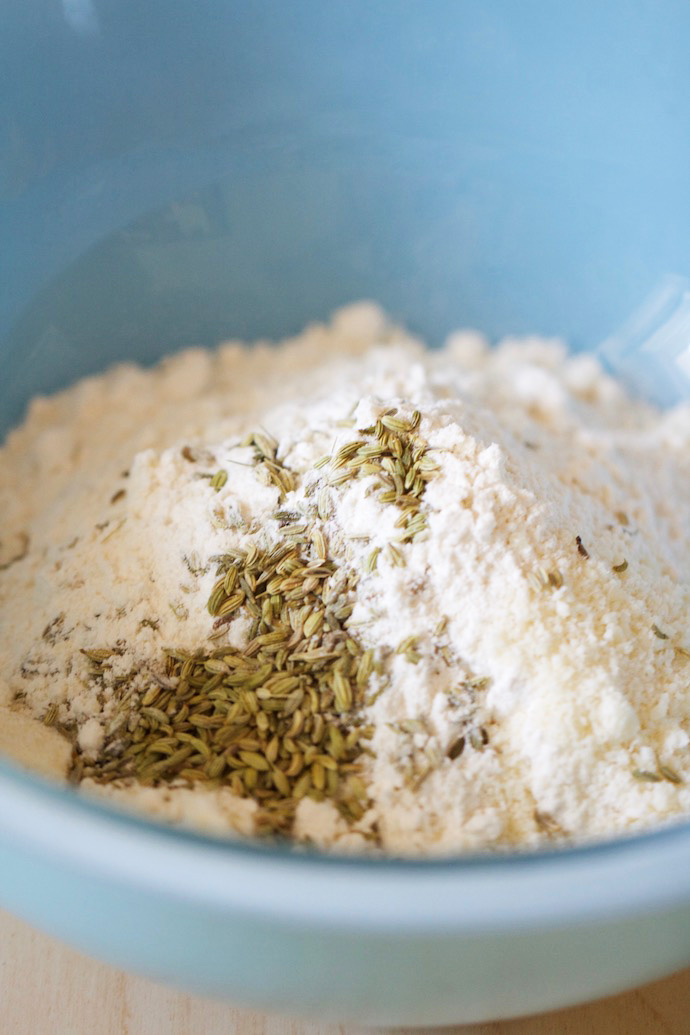
Notice the green speckles of fennel seed in the Parmesan-flavored dough?

I used half swiss chard and half spinach to make the crostata filling.

The rolled out dough is encasing the delicious filling and the crostata is ready for the oven!

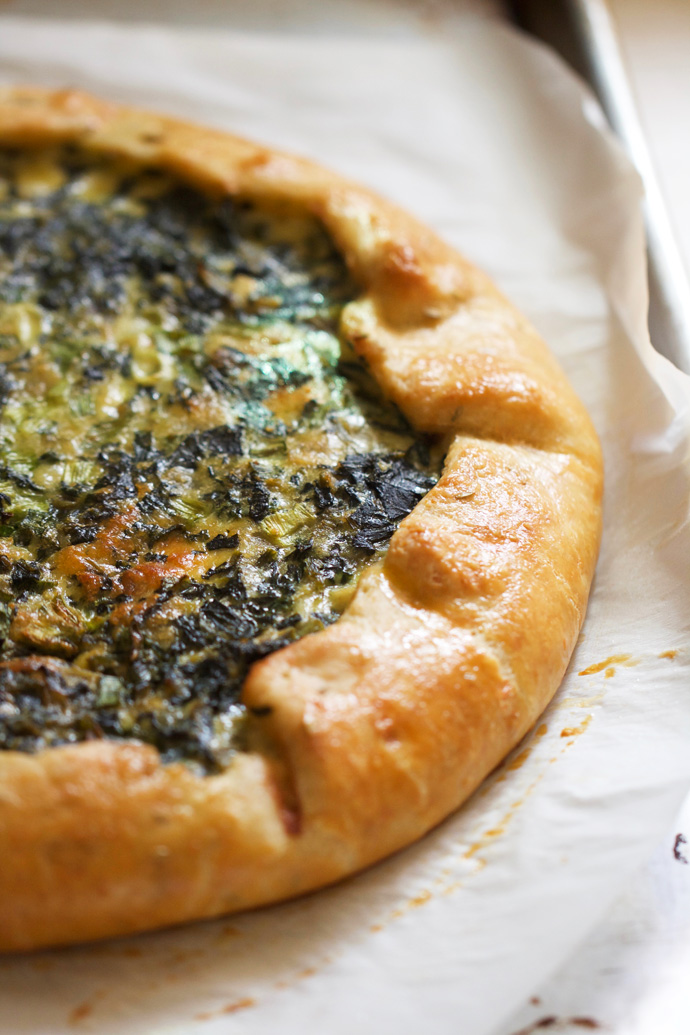
Golden around the edges with the filling set perfectly.

Ours was love at first slice!
- Fennel Seed Crust:
- 2 teaspoons fennel seeds (optional, but strongly recommended)
- 2 cups all-purpose flour
- ½ teaspoon fine sea salt
- ½ cup freshly grated Parmesan cheese
- ½ cup extra-virgin olive oil
- Up to ½ cup plus 2 tablespoons ice water
- Filling:
- 3 tablespoons extra-virgin olive oil
- 1 medium yellow onion, finely chopped
- 4 cloves garlic, minced
- 1½ pounds total Swiss chard (stems cut into ¼-inch dice to equal about ½ cup and leaves sliced into ¼-inch ribbons) and spinach (stems cut into ¼-inch dice to equal about ½ cup and leaves sliced into ¼-inch ribbons) - you should have 15 loosely packed cups of chard and spinach ribbons TOTAL
- 1 teaspoon fine sea salt
- Pinch of each - dried oregano, dried thyme, dried rosemary
- 2 pinches of ground nutmeg
- 4 large eggs
- ½ cup chopped scallions
- 1 cup ricotta cheese (whole or part-skim)
- ½ cup freshly grated Parmesan cheese
- Make the fennel seed crust: Toast the fennel seeds in a small skillet over medium heat, continuously stirring or shaking the pan, until the seeds are golden and fragrant, about 3 minutes. Let them cool.
- In a large mixing bowl, stir together the fennel seeds, flour, salt, and Parmesan until just incorporated. Add the olive oil and stir with your fingers to combine. While stirring, pour in ½ cup of the ice water (no ice), then add more as needed, 1 tablespoon at a time, until the dough just begins to form a ball. It should be wet and smooth, but should not stick to your fingers. (Instead of using your hands and the bowl, you can do these steps in a food processor. I used my hands.)
- Knead the dough on a lightly floured board for about 30 seconds until it comes together fully. If it pulls apart and is dry and tough, add 2 tablespoons more water, and stir and knead again until just incorporated. Flatten the ball of dough just slightly and wrap it in plastic wrap; let it rest in the refrigerator for at least 30 minutes or up to 1 day in advance of assembling the crostata.
- Make the filling: Heat the olive oil in a big saucepan or a Dutch oven over medium heat. Add the onion and cook until it just begins to soften, about 2 minutes. Stir in the garlic and chard stems and spinach stems and cook until the stems begin to soften, about 5 minutes. Add the chard leaves and spinach leaves (in batches if needed to fit the pan), salt, dried herbs, and nutmeg. Cook until the leaves have fully wilted and any liquid has cooked off, about 10 minutes more. Turn off the heat and let cool.
- Assemble and bake the crostata: Preheat the oven to 375ºF. On a piece of parchment, flatten the crostata dough and roll it from the center outward with a lightly floured rolling pin. Turn the dough and parchment as you go to create a circular shape about 15 inches in diameter and a little less than ¼-inch thick. (Don't bother trying to make a perfect circle, but do try to even out the thickness of the dough.) Transfer the parchment and dough to a rimless baking sheet (the dough can hang over the edges for now.)
- In a small bowl, lightly beat 1 of the eggs with 1 teaspoon of water to make an egg wash; set it aside. In a large bowl, lightly beat together the remaining eggs, then stir in the chard and spinach mixture, scallions, ricotta, and Parmesan to combine.
- Transfer the chard and spinach mixture to the dough, spreading it out evenly but leaving a border of about 1½ inches. You may think that the filling is too thick, but do not worry, it will shrink as it bakes and will be denser. Trim any dough edges that seem too long or thick. Gently fold the dough border up and over the filling, pleating it as you go. Brush the dough lightly with the egg wash.
- Bake the crostata until the crust is golden brown and the filling is firm in the center, 40 to 45 minutes . Slide the crostata, still on the parchment, onto a wire rack to cool for at least 15 minutes before cutting and serving. It can be served warm or at room temperature.


Leave a Reply